It is pouring outside. I woke up this morning around 5am, thinking about my 6:30am running date, and I smiled when I heard the rain beating on the roof. Eliza and I have a deal that we don't run if it's raining. We've been running together Mondays-Fridays since April, and this is the first day that we've actually gotten to use our rain rule. I'm fully enjoying it!
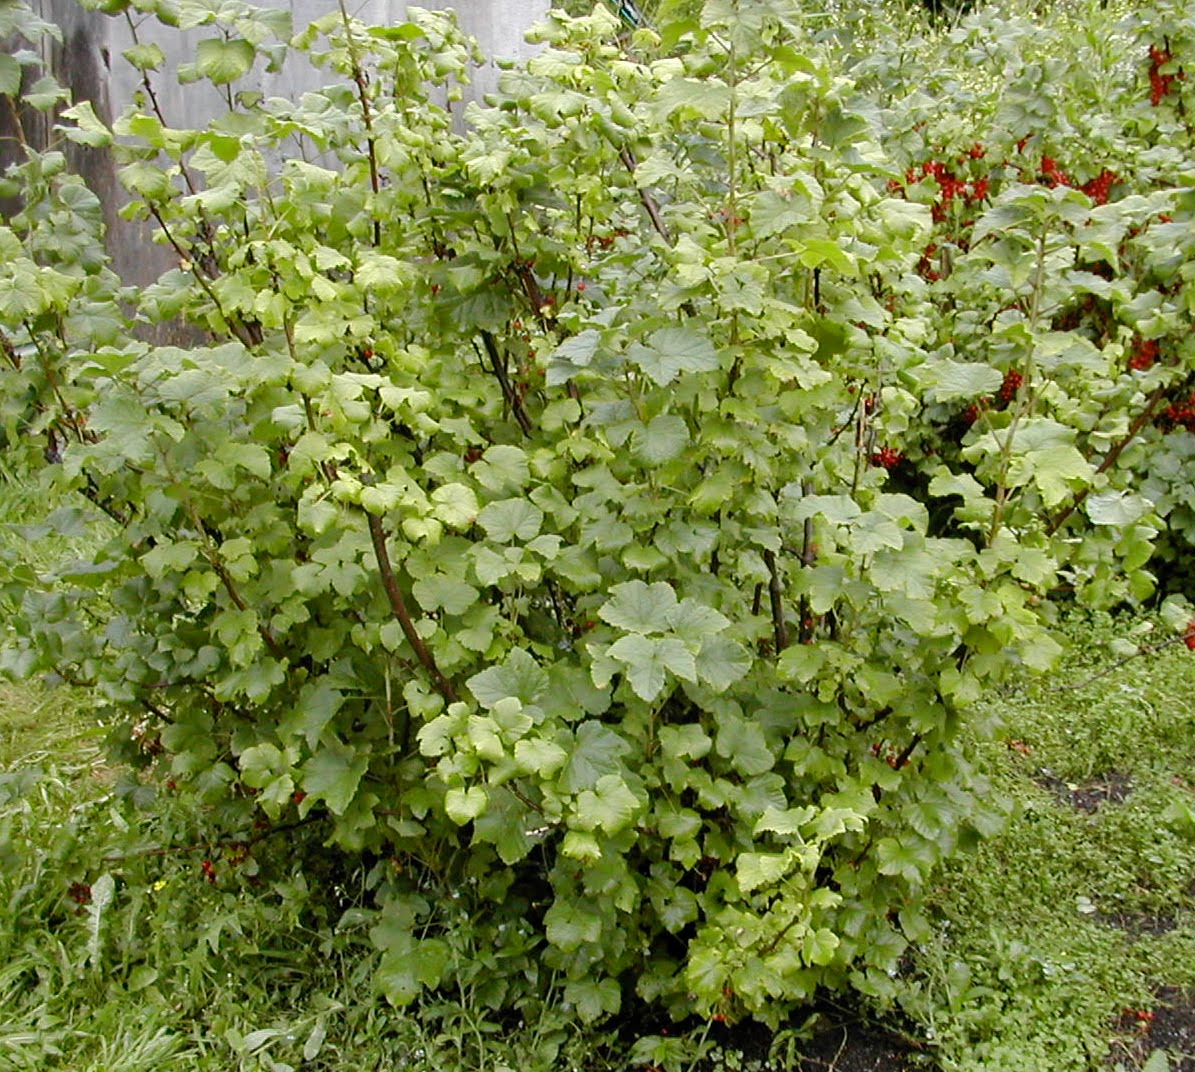
Yesterday the fog was so think you could barely see the end of the dock, and the mosquitoes were buzzing around everywhere, looking for exposed flesh to bite. But Lil's currants and my raspberries needed picking, so I put on long pants and a sweatshirt to protect against those nasty little suckers and I headed down to Lil and Chuddy's to pick and pick and pick those juicy currants! I've never seen her red currants like this. They're dripping from the bushes. Big, fat, red berries dangling on skinny vines up and down the branches of each laden bush. I picked the vines off of the branches a few at a time and then swept my finger and thumb down the vine to remove the berries. They dropped into my two-quart bowl and before long the bowl was filled up. I poured the berries into a gallon-size bag. I worked methodically, cleaning one branch at a time, moving slowly around the bush until it was picked clean. Three hours and dozens of mosquito bites later, I went home with three gallons of red currants. And I only picked one bush. There are still two out there just as heavy with fruit.


The original plan was to make room for all those currants in the freezer. When I got home and looked into the freezer I realized that was impossible. It's completely full. Filled right up to the top with bread and meat and rhubarb and cider and all sorts of things that we need to begin to use up. So, what the heck to do with three gallons of currants?! I put them on the counter and went out to take care of the raspberries while I thought about just what to do. After about an hour, I had two quarts of red raspberries and the idea of raspberry-currant jam circulating throughout my head.

I came home and began to page through my Ball
Complete Book of Home Preserving, but once again I was dismayed by how much sugar the jam and jelly recipes called for. One recipe for berry or currant jam called for five cups of fruit and seven (SEVEN) cups of sugar. That's one cup of sugar for every eight ounce jar of jam! Crazy. I searched for the book for an alternative with less sugar, but all of them called for at least one cup of sugar per jar of jam or more. Then I decided to look for a recipe on-line. I found the recipe I was looking for here:
Strawberry-Currant Jam
This recipe calls for half of the sugar in other recipes, just about 1/2 cup per jar. The jam turned out perfect. The flavor is not too sweet, in fact a bit tart and powerfully berry-ish! It jelled beautifully without the use of any added pectin. Apparently currants have enough pectin in them naturally to jell without adding any more! The color is just beautiful--bright red and fresh.

The recipe is as follows:
Strawberry-Currant Jam
(Makes about seven 8-ounce jars)
1 quart (4 cups) red or white currants, or gooseberries (I used red currants, and I didn't boil them with water to make the juice/puree. I have a great foodmill that strains berries, tomatoes, etc. without cooking them first. It's called the "Roma Food Strainer Sauce Maker")
1/4 cup water
2 quarts strawberries (I used one quart of red currants and one quart of red raspberries)
4 cups sugar
1/4 cup fresh lemon juice
Put the jars into the canner, and cover them with water by at least an inch. Bring them to a boil, and boil them for 10 minutes.
Wash and drain the currants and put them with the water in a sauce pan. Bring to a boil and boil, stirring gently, until they are all popped, about 5 minutes. Press them through a sieve, and reserve the puree. Discard the skins, stems and seeds.
Gently rinse the strawberries and drain them well. Mash them in a large canning kettle or pot; a potato masher does the trick nicely. Mix the currant puree, sugar and lemon juice into them.
Bring to a boil, stirring constantly until the sugar dissolves. Boil hard until the mixture reaches the gell stage, about 20 minutes. Stir occasionally to prevent it from scorching. Remove from the heat and skim off any stubborn foam. Fill the sterilized jars and seal with lids prepared according to the manufacturer's instructions; generally boiled for 5 minutes. Return the jars to the boiling water in the canner for 5 minutes.
Let cool, check that the jars have sealed, label, and keep in a cool, dark place until opened, when they go into the refrigerator.
I still have a gallon of whole currants that I managed to squeeze into the freezer. Additionally, I juiced 3 quarts for future jam. The rest I gave away. I'm planning on making another batch of the raspberry-currant jam and a batch or two of blackberry currant jam this fall when the blackberries are ripe. I'm so excited to have a reduced-sugar jam recipe and to know that currants eliminate the need for added pectin!
The other two bushes are still loaded. If they're not picked by Friday afternoon, I'm going in for more!